Saturday, July 16, 2011

Painting the "Painted Ladies"

I managed to acquire a bunch of IHC and Lionel "Painted Lady" building kits.  These are nicely detailed models based on homes from the early 1920s in San Francisco.  But the molded colors weren't great, so I started what ended up being a 3 month painting/assembly project.


Gee, this doesn't look too hard . . .
A little masking tape and we're ready to airbrush
That's better
Skipped about 20 steps here (primer coat, masking, painting, re-masking and painting, add mortar lines, glue in windows and glass, re-glue windows and glass when they fall out, cut and tape in curtains . . .)
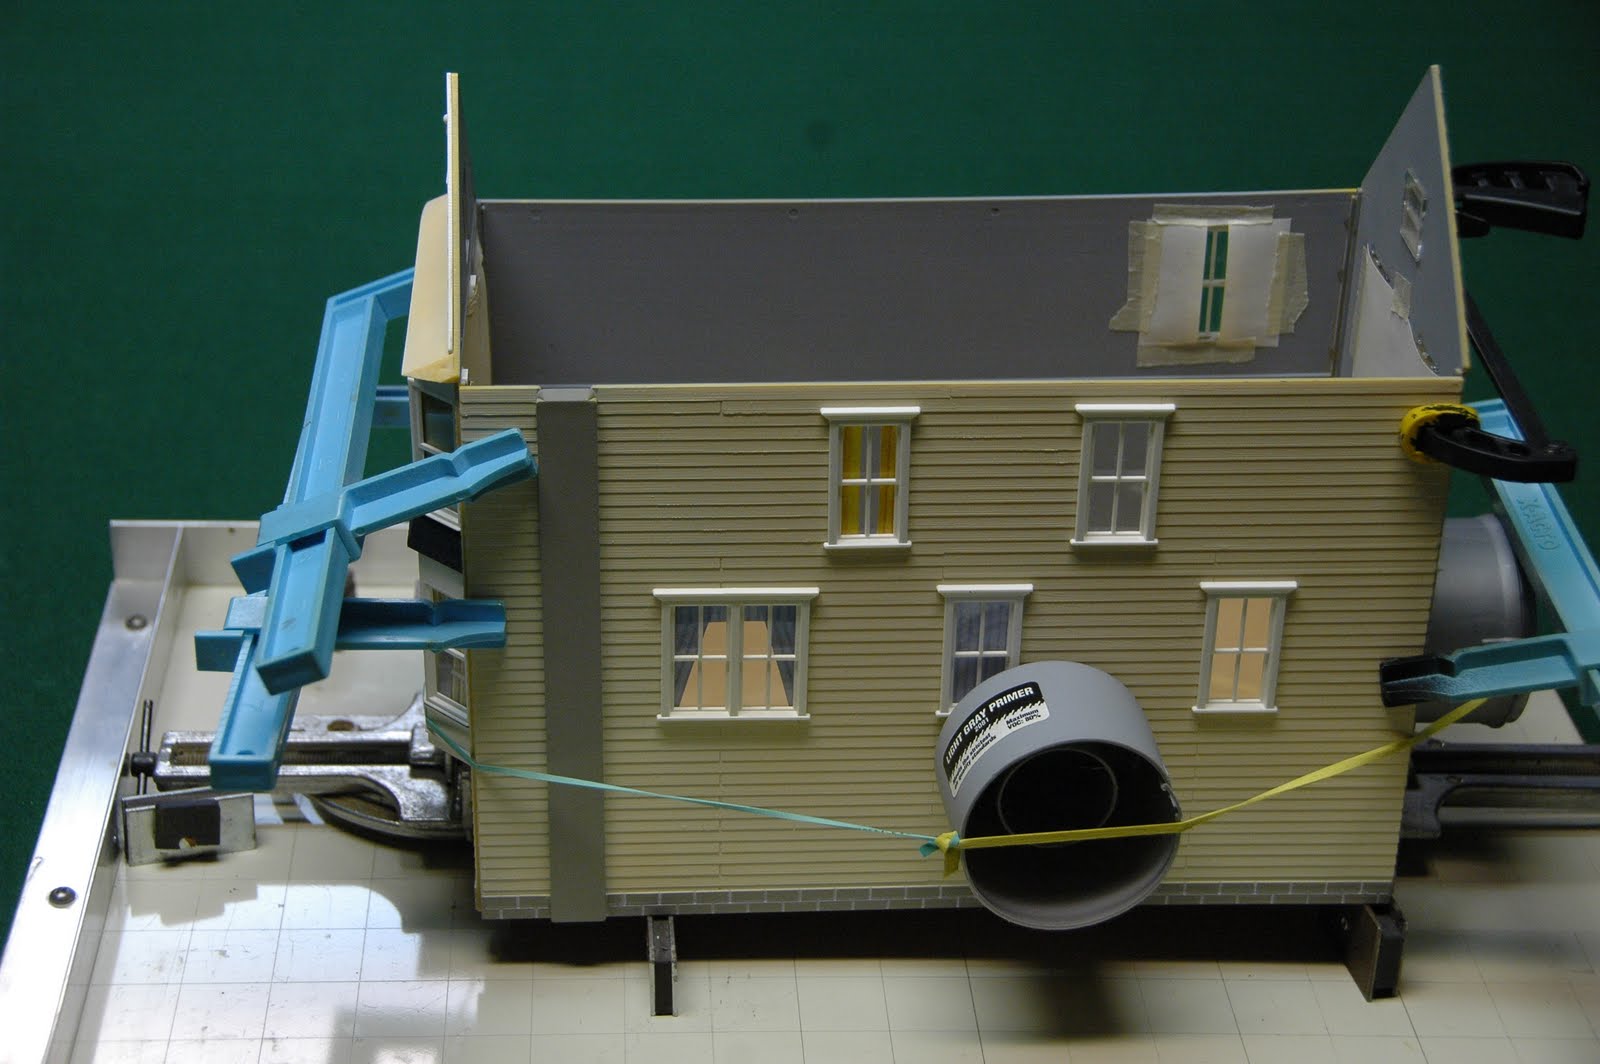
Gluing and Assembly:  Rube Goldberg would be proud

Some roof work

Experimenting with layout

Adding the street
Done at last!


This was a long project with many mis-steps.  Here is what I learned:
  1. Paint all except white plastic parts.  The molded colors are usually too bright and shiny.
  2. Prime both sides of the walls if you want interior lighting (to avoid the pumpkin glow).  Grey Automotive Primer is quick and cheap.
  3. Paint has to be scraped with a hobby knife from all glue joint surfaces (a big pain).  Testor's liquid cement does not stick to paint.
  4. Contrary to what the "Pros" say, model airplane cement holds much better than liquid cement and is easier to apply without a mess.  But, you have to confine it to interior or hidden surfaces.  Liquid cement only has the edge with bare plastic clamped together.  I did not try super glue - too messy.
  5. The best way to glue in window frames and windows is a drop of model airplane cement in each corner of the inside, out of view.
  6. Paint and completely assemble each flat wall section, then assemble them together.
  7. Spraying Floquil really stinks, even with a paint booth.  Polly S Acrylics are much nicer to spray.
  8. An assortment of clothes pins, clamps, rubber bands, weights, square edges, and magnets are the key to assembly (see pictures above).
  9. Doing 3 kits together is much more efficient, especially for painting.
  10. IHC printed instructions are marginally useful.
  11. Above all, have fun!


Wednesday, May 4, 2011

Back to the 1950s

My friend John and I were talking about how we wished the passenger trains of the 50s were still running. I would love a ride on the Santa Fe Super Chief.   So, he bought me a ticket.  A REAL ticket from the 50s.
Next time I am in Chicago or LA, I'll be waiting on the platform in my suit and fedora, smoking a cigar, tipping my hat, and saying "Morning, ma'am." Then I will get arrested for loitering, public smoking, and sexual harassment.

I miss the 50s.

Saturday, March 26, 2011

Mountains of Progress

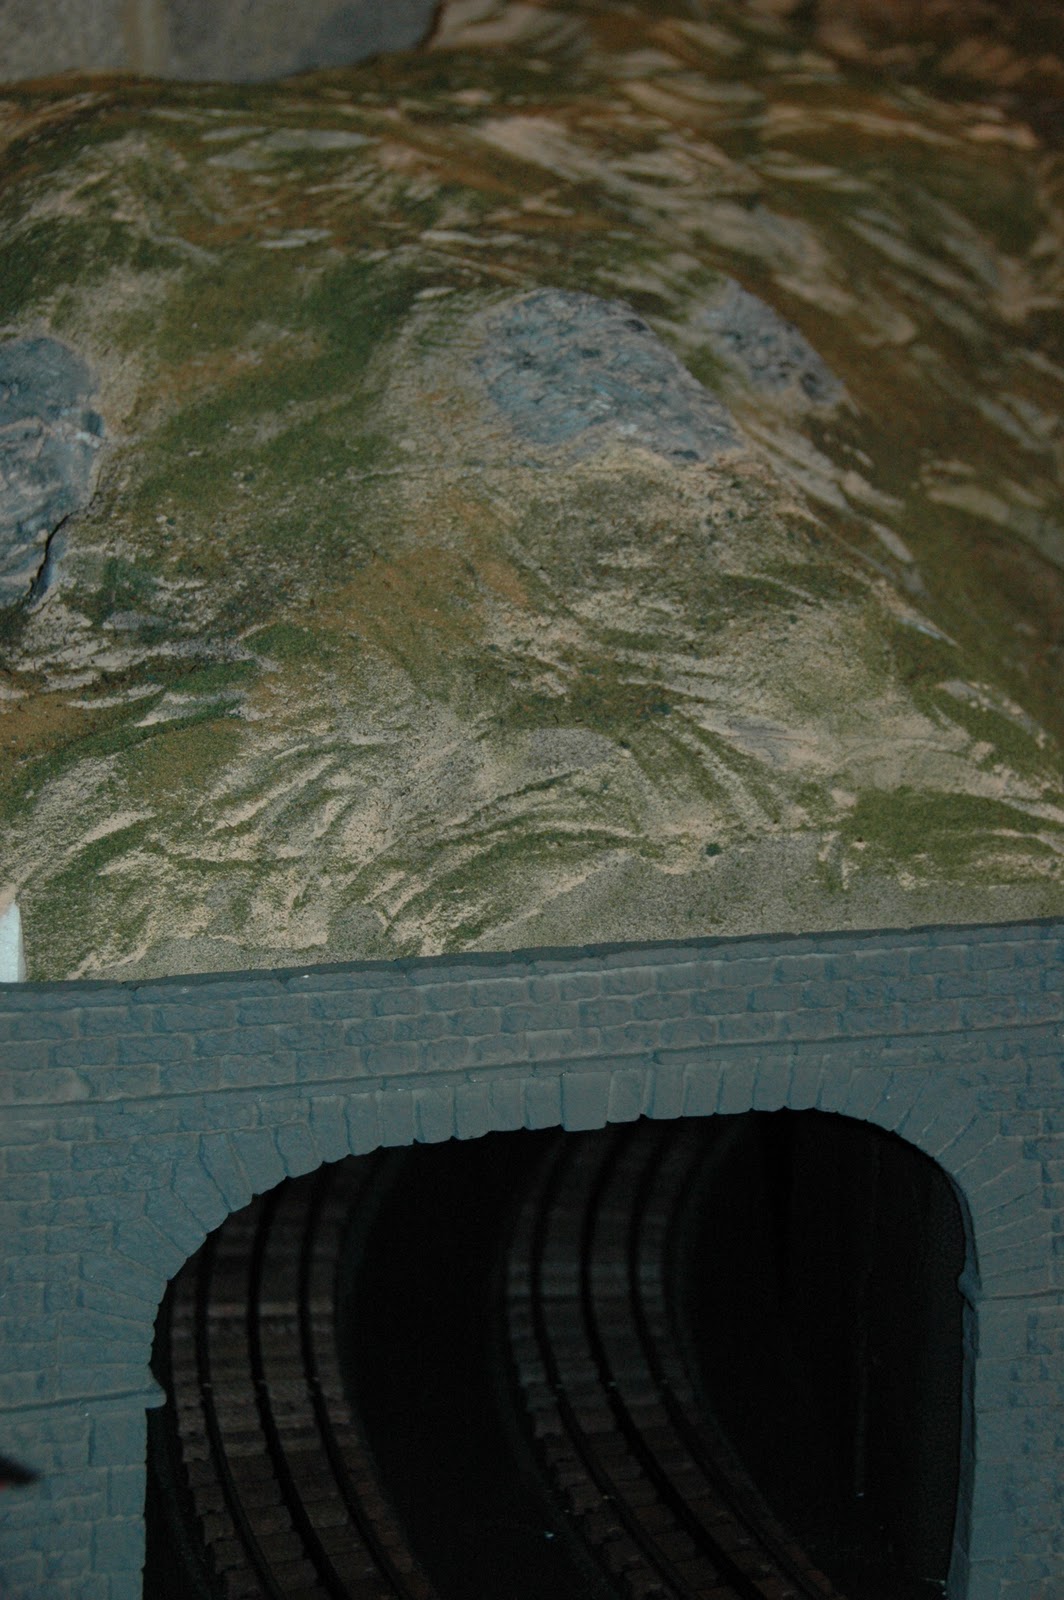
After a few marathon evenings, I finally got to the fun part of mountain building --  rocks and ground cover.  Here is the progress:


A little paint, some ground foam, a little rock painting, and Voila!


Sunday, February 13, 2011

Shark and a Bird

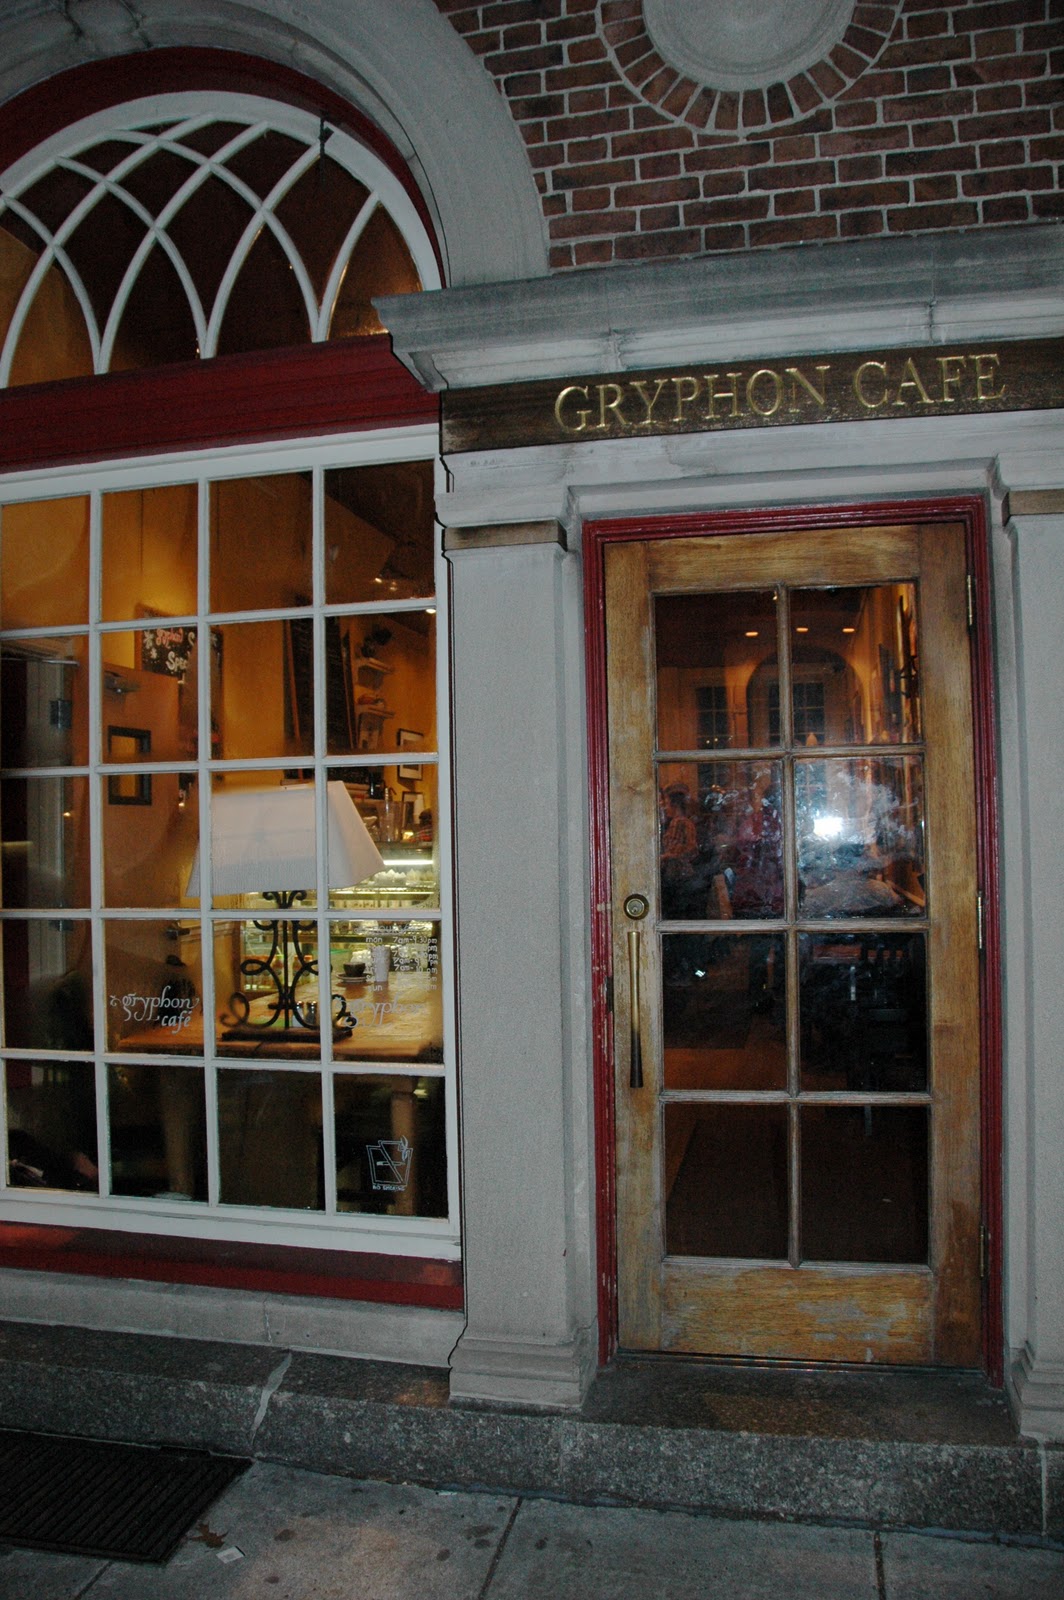
 Katy Glorioso performed at Gryphon Cafe in Wayne, PA last night to launch her new EP CD "Shark and a Bird."  It was a great gathering of fans and friends (including 2 beaming proud parents).

Her music is now available on iTunesAmazon MySpace, and CDBaby.


Saturday, February 12, 2011

Making Mountains out of . . .

I'm busy making mountains and a tunnel with white styrofoam that was headed for the landfill.  The key is using a hot wire foam cutter.  It seals the surface as you cut, so you don't get 10,000 little white beads.  This is pretty time consuming, but hey, the real ones took 90 Million years, right?


At a recent train show, I participated in a demo on carving and painting rocks using blue or pink styrofoam.  It really turned out well, so I plan to try it on the blue layer.  I will be adding some molded rocks as well.

Saturday, February 5, 2011

Sight, sound and smell

I picked up an MTH PRR 2-8-0 at the Great Scale Train Show today.  This is my first MTH Steam Loco.  Wow!  It looks, sounds, and smells great:

Tuesday, February 1, 2011

Fixing 666

Last night I decided to fix my old Marx 666 steam loco.  The center rail slider pickup mount is broken and my makeshift repairs were not working.  I picked up a junker at a show for parts (thank you, Marx, for standardizing your motors).


Of course, it required a lot more disassembly than I thought (ie, pulling the drivers), but in the end, the motor was lubed and cleaner than my grease and carbon stained fingers.


Now for the final assembly.  Hmm, so exactly how were the drivers aligned?  They must be quartered.  After all, that is what the prototype does.  So, now the drivers are nicely quartered and I spin the wheels to discover that the connecting rods are binding where they actuate the smoke "bellows."  Now I know -- Marx does not quarter the drivers.  They are supposed to be lined up to mirror each other.  Grr...!

Still I had to just try it, so I put in on the track as is.  It ran fine . . . well . . . except for the snakelike wobble as it rolled down the track.  I'll be pulling the drivers again tonight . . .